Now that our foundation is set, we can begin the best part - installing Rock!
The first thing we need to do is to download the Rock installer, which
you can find at rockrms.com/Rock/GetStarted.
Place the Start.aspx and
web.config files from the installer package in the root of the
web folder. By default, the web root folder will be located here: C:\inetpub\wwwroot.
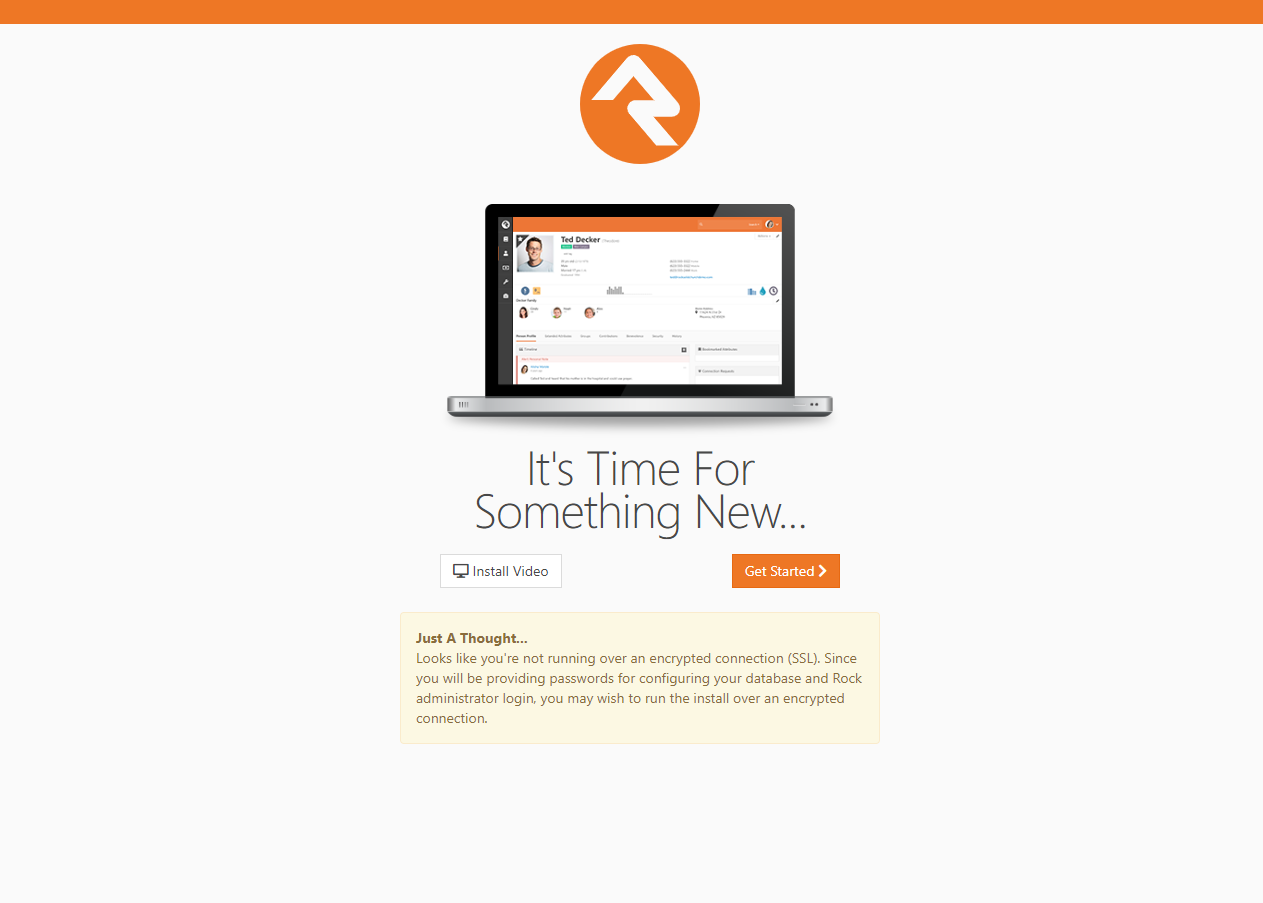
Open up a web browser and go to http://localhost/Start.aspx to begin the installation process.
Rock Installer
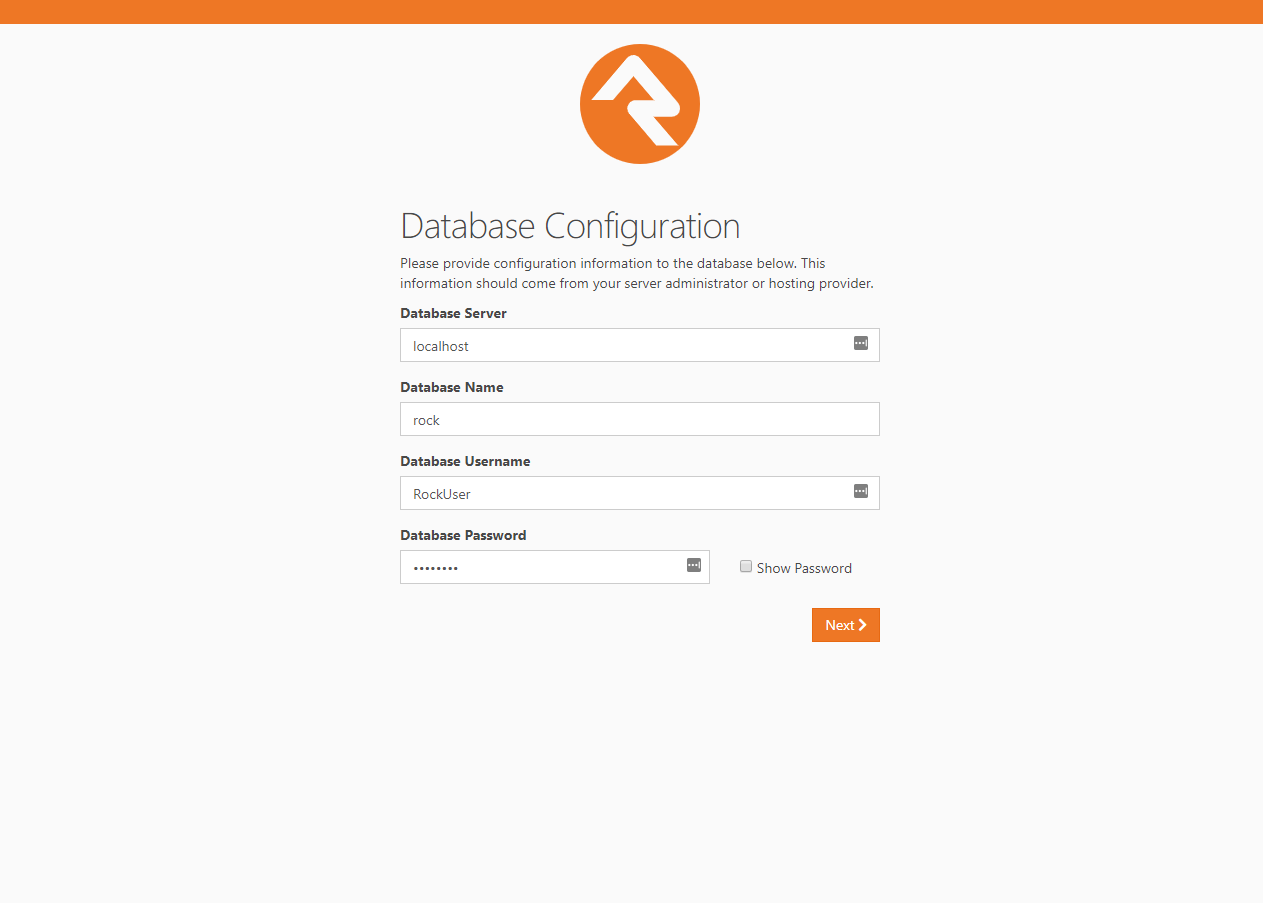
Now we will enter in the SQL server information. If the SQL server is installed on this server,
you can type in "localhost" in the Database Server box. If you are using another server for SQL,
you can enter the server name instead.
Next, enter in a name for the Rock Database (e.g. "Rock") and enter in the username and password
we created earlier in the SQL Chapter. Click Next.
Database Configuration
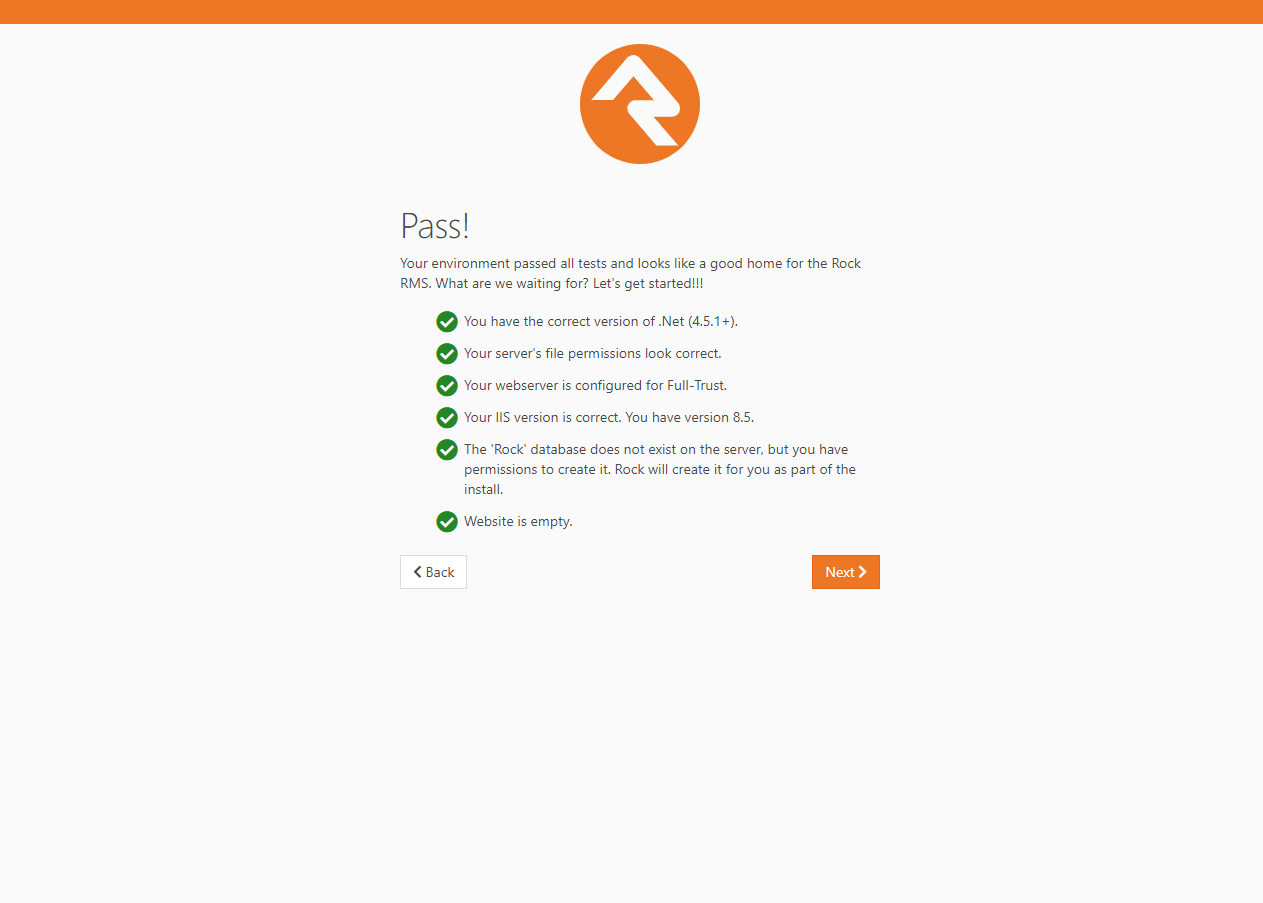
Now the Rock installer will run some checks to make sure the environment is ready
for use. If everything checks out, you will see the Pass! screen. Click Next.
Environment Checks
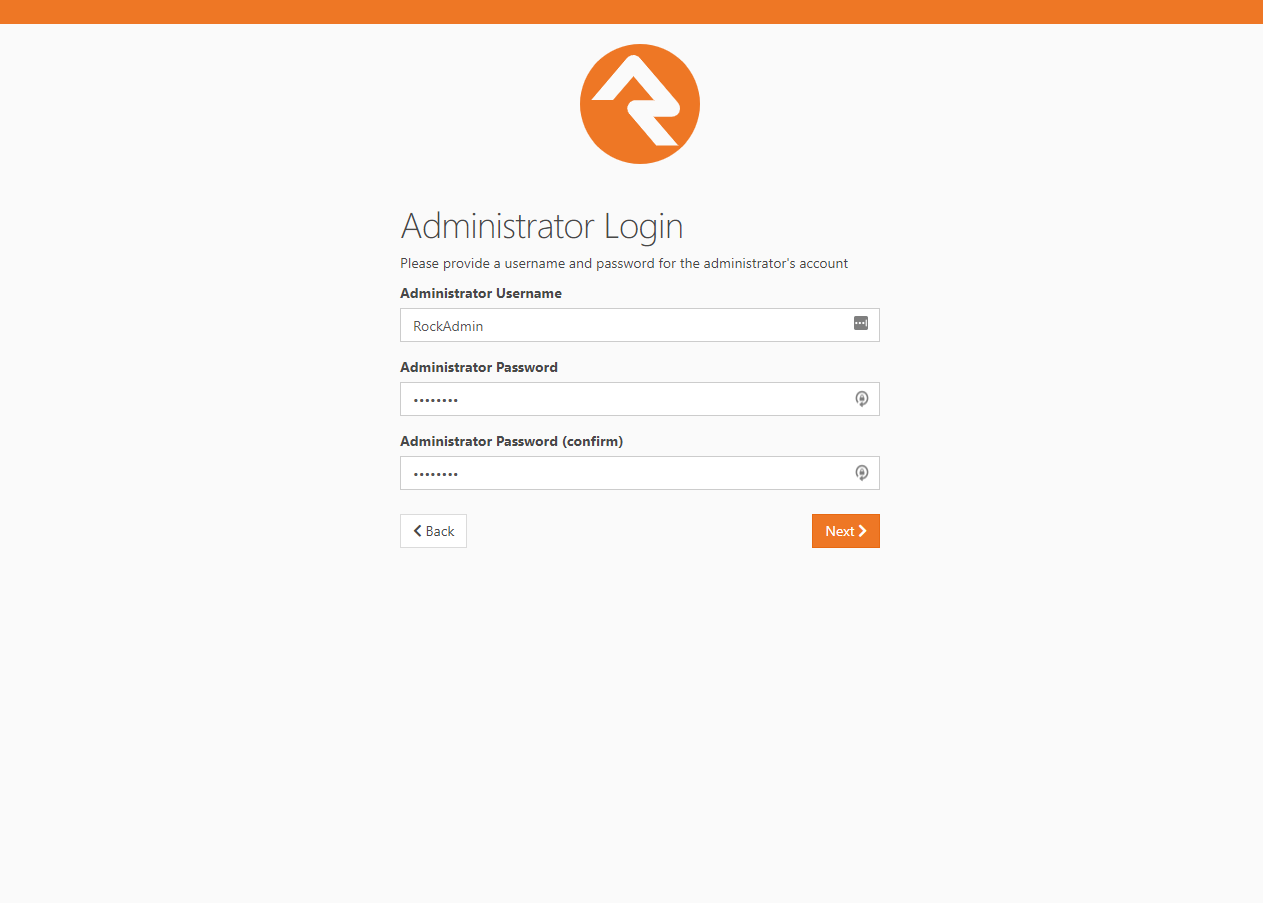
The next screen will allow us to create an admin username
and password for Rock. This will be the default admin account for Rock. Click Next.
Note:
We recommend using a general or organization account, not a personal one. You can create your own login after the install.
Admin Account Setup
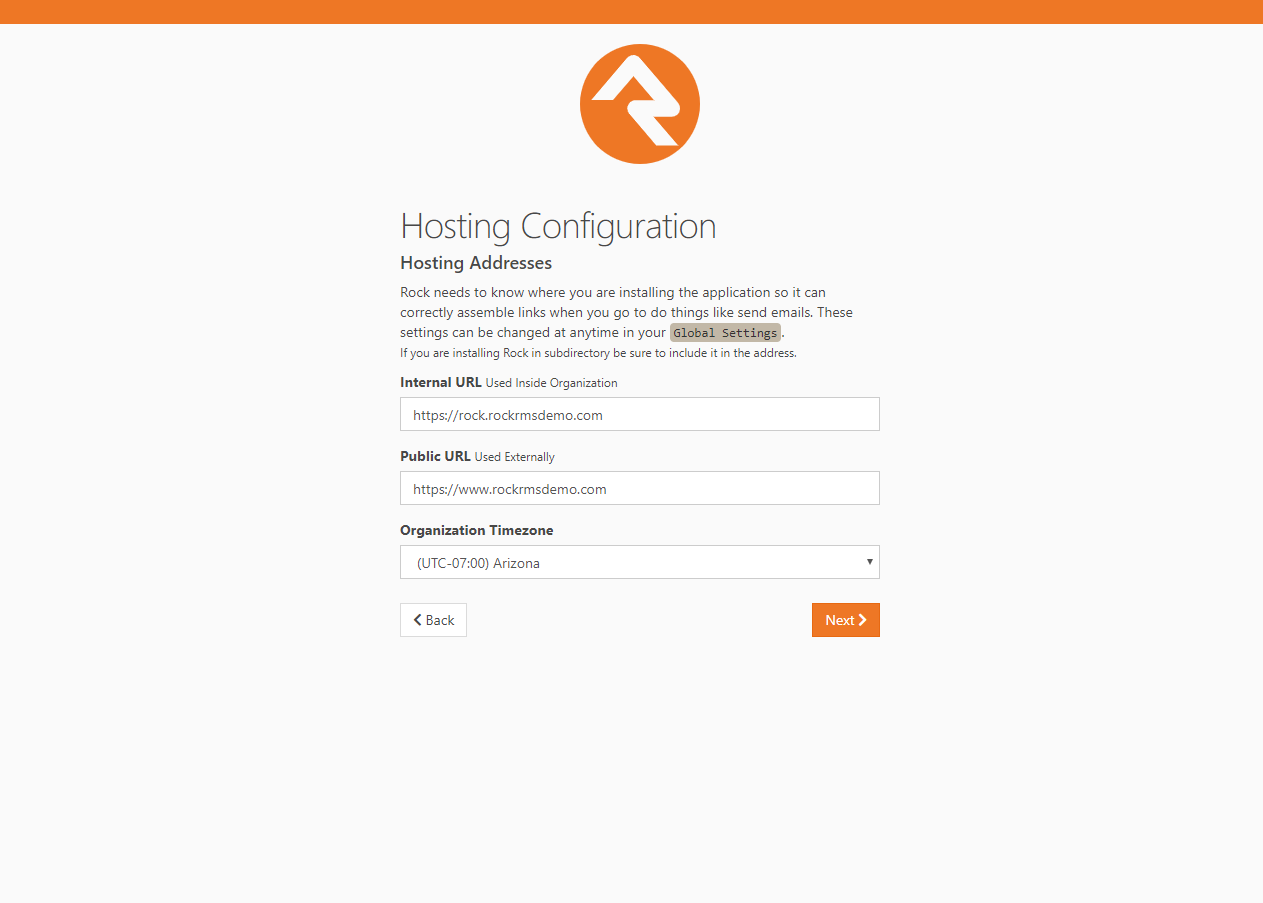
Now you'll need to enter in your organization URLs.
- Internal URL: The web address you'll use to
to connect to Rock internally. (Example: http://admin.rocksolidchurchdemo.com)
- Public URL: The public facing website
for your organization. (Example: http://www.rocksolidchurchdemo.com)
Note:
Don't worry if these addresses aren't configured to point to your new server yet.
These addresses are intended to be the ones you'll use once you're ready to go live.
Hosting Configuration
Now let's enter in your Organization Information.
- Organization Name: The name of your organization
- Organization Default Email Address: The default
email sending address for Rock
- Organization Phone Number: The main phone
number of your organization
- Organization Website: The website of your organization
Note:
Don't worry, these settings can be changed later under
Admin Tools > General Settings > Global Attributes
Organization Information

Now that you have all of your organization's information entered into Rock, click
Next to begin the Rock installation.
Installation Progress
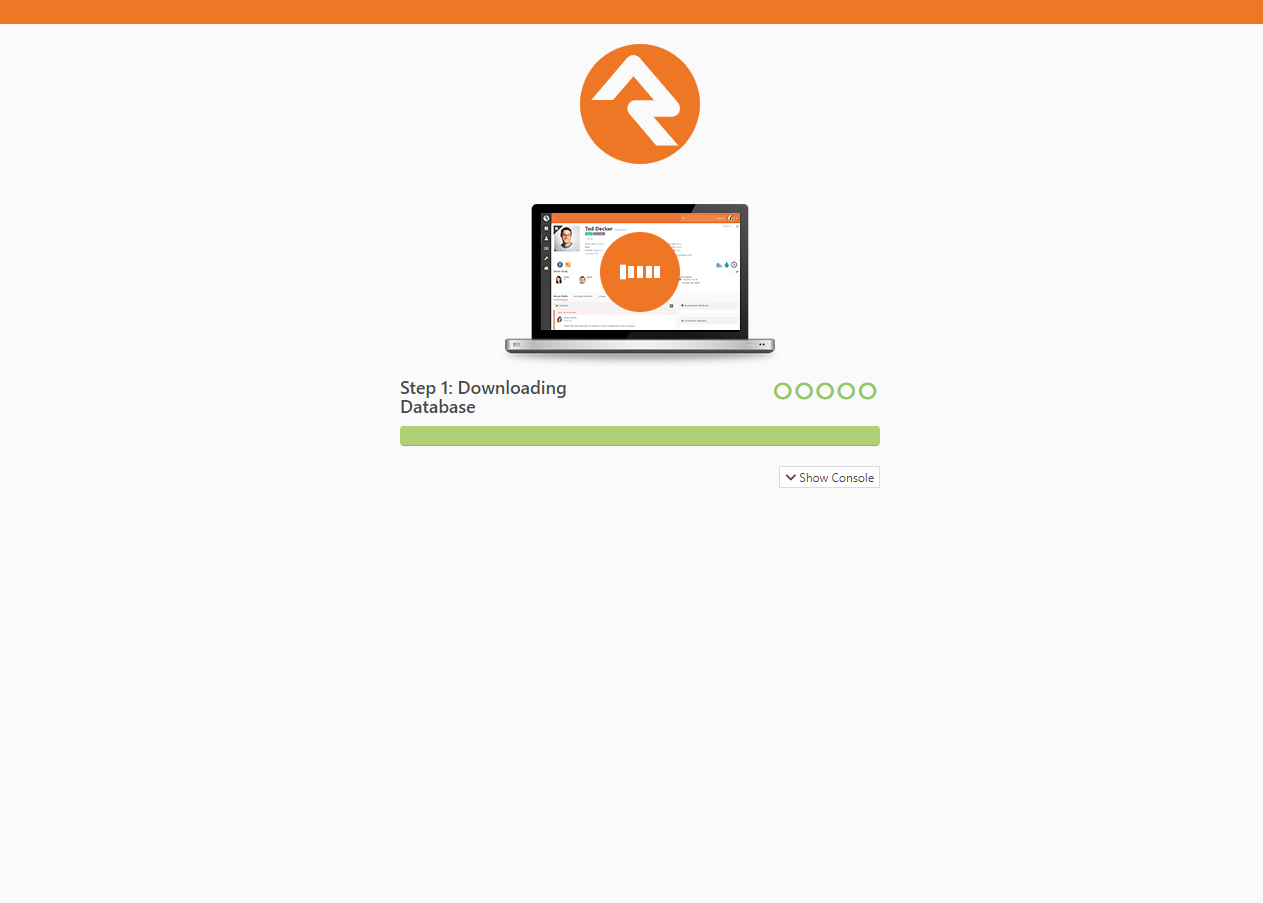
Rock will begin downloading the needed files onto the webserver and configuring the database.
You can observe this process by clicking on the Show Console button.
Installation Console
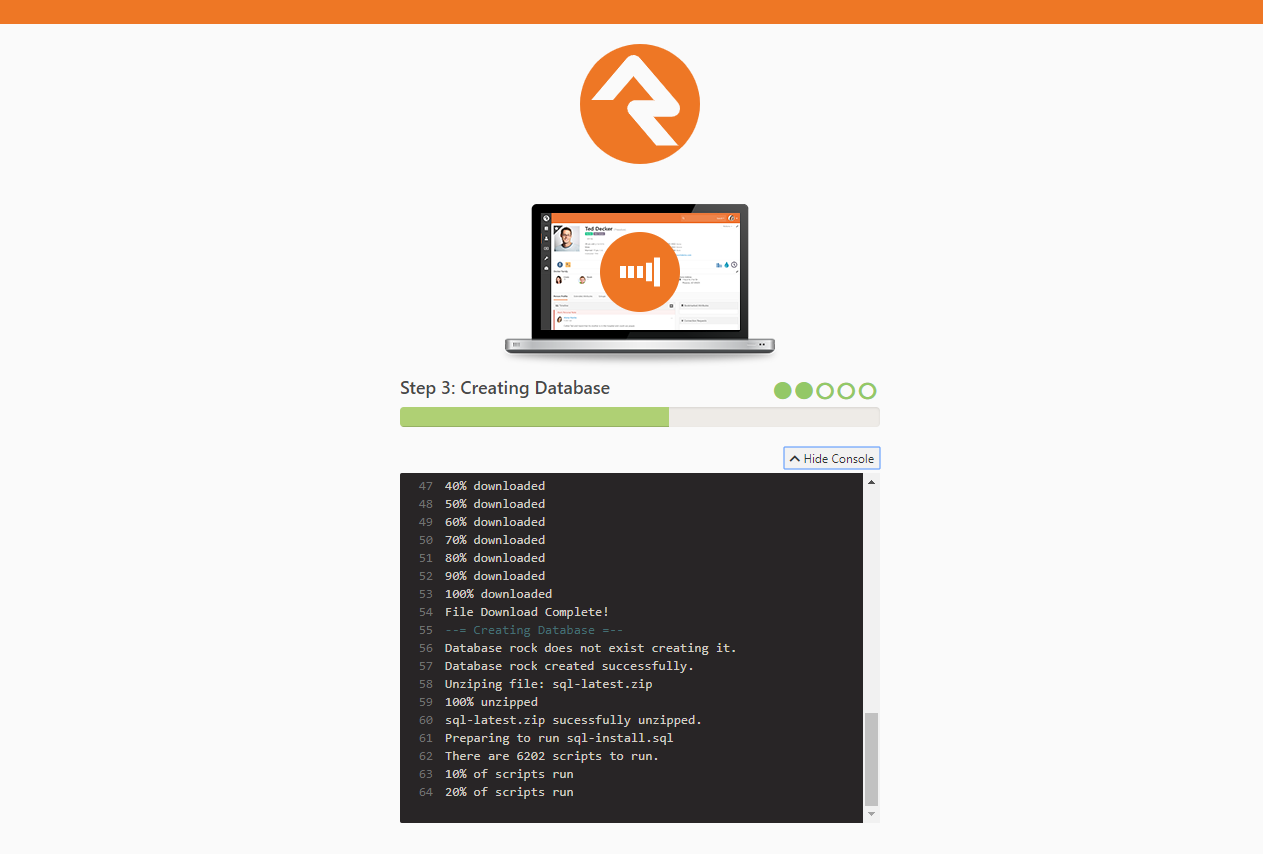
When complete, click on the Flip the Switch button.
Keep in mind, this loading screen will take the longest to load since Rock is starting up for the first time.
Installation Complete!
Note
If you arrive at the external site instead of the internal login page it could be that the
domain name is set to be used as the external site. When Rock isn't provided with a specific
page to load in the URL it looks at the domain and finds a site in the database that matches.
If this happens to you, you can get to the internal site by this URL: http://{yourserver}/page/12
Now that Rock is installed, you can begin by logging in. Log in
with the Rock admin account you created during the installation.
Logon Screen
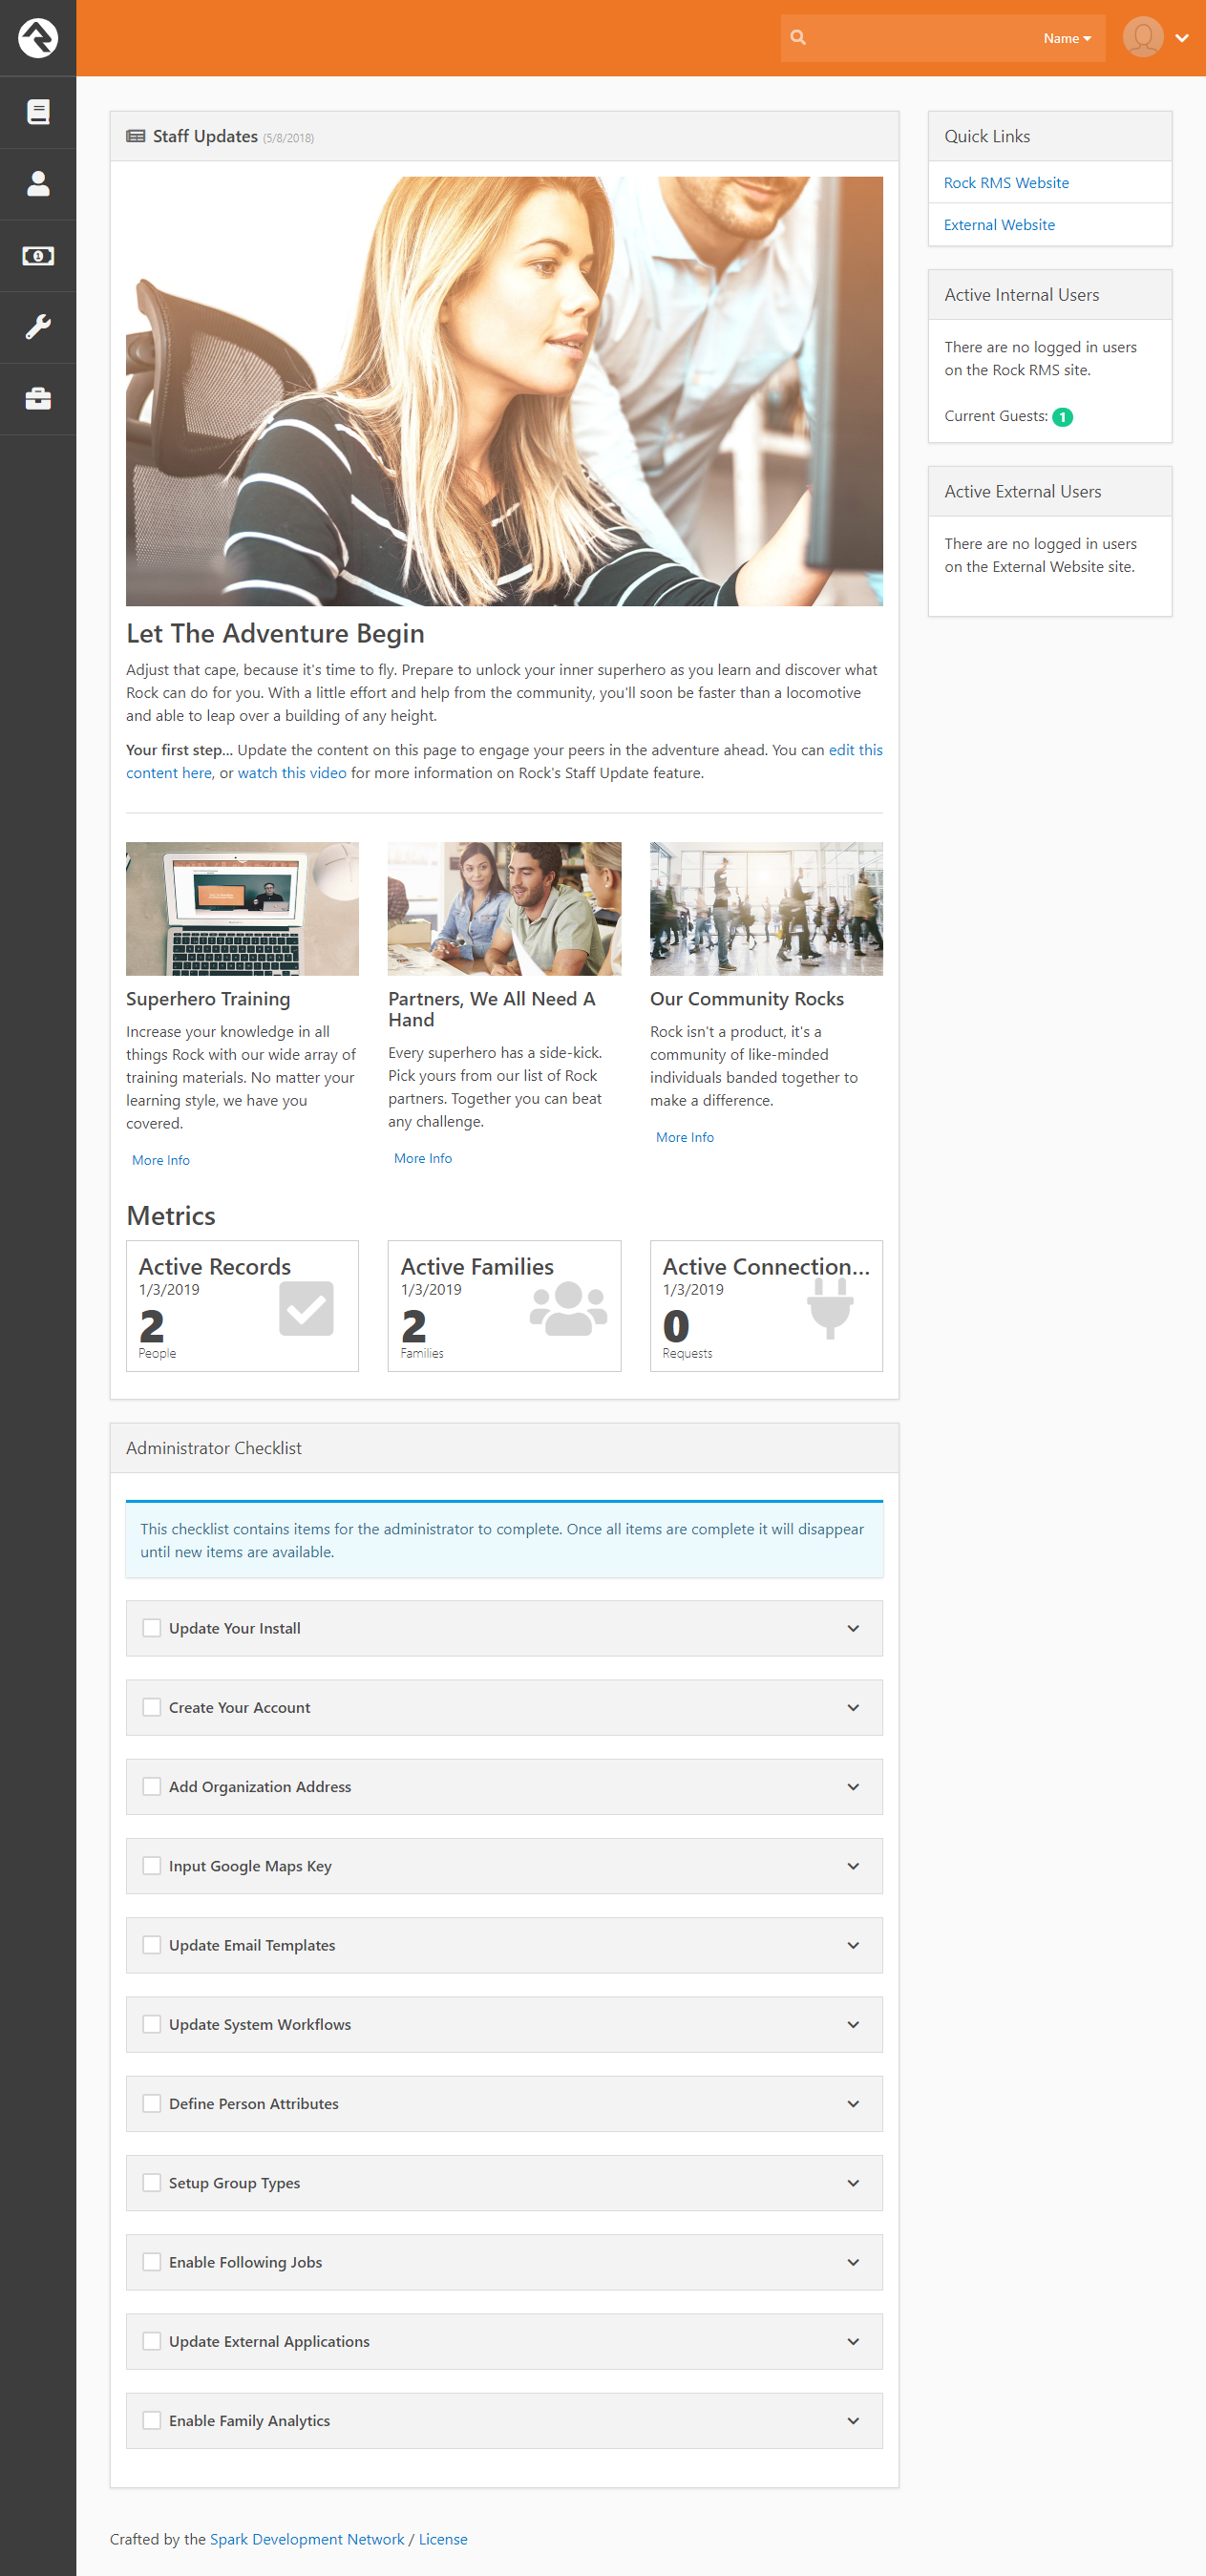
Once logged in, you'll be taken to the Rock homepage. You will
see the Administrator Checklist, which is a list of the recommended
first steps to maxmize the potential of Rock at your organization.
Don't worry about completing the list today. You can get to it as
you become more familar with Rock. The list will disappear once you
mark off all the items. It may reappear after updates, if special
configurations are needed. Think of it as a friend that only
shows up in your time of need.
Rock Home Page